Google Pixel Tablet
Tools and Drivers
WARNING!
Unlock the Bootloader procedure on the phone will erase all of your data.
All described operations you are doing at your own risk.
If want to save your data do a backup before starting.
The battery should be at least 50% charged before the start.
Steps to unlock bootloader on Google Pixel Tablet
Step 1: Enable OEM Unlocking (also referred to as "OEM unlock")To enable OEM unlocking on your Google Pixel Tablet, follow the instructions below.
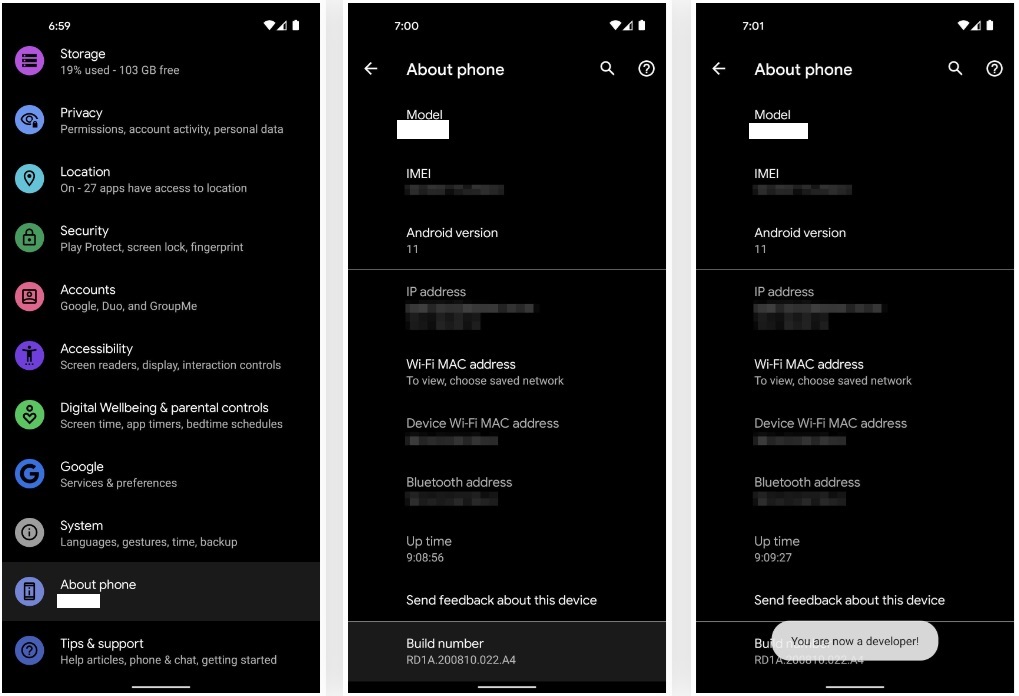
- Open the Settings menu and go to "About phone"
- Scroll down to the very end and locate the "Build number" section
- Repeatedly tap the build number 7 times until you see the "You’re now a developer!" message on the screen.
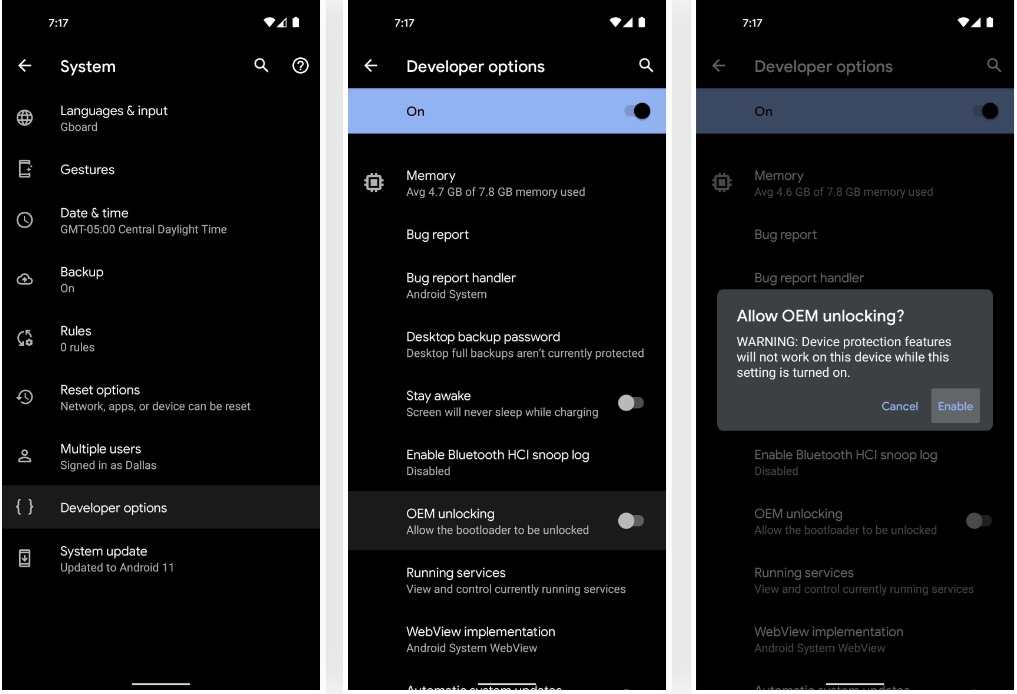
- Go back to Settings, tap "System" and then tap on "Developer options"
- Find "OEM unlocking" and tap the slider next to it. You might be prompted to enter your Google Pixel Tablet PIN/Password/PIN.
- Select "Enable" when prompted to allow OEM unlocking
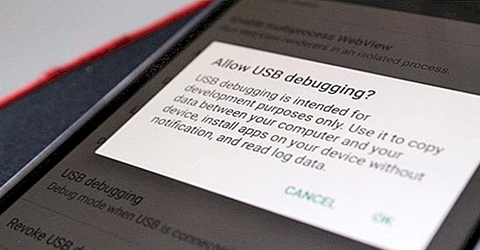
- Find "USB Debugging" and select "Enable"
- Connect Phone to PC and Verify the connection
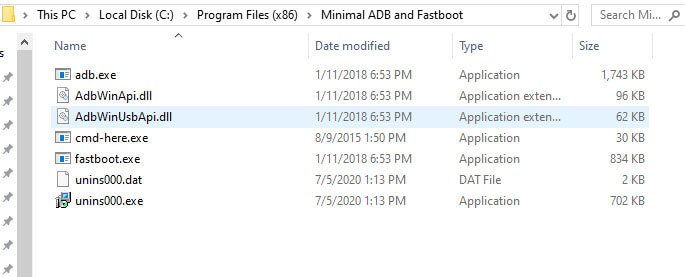
- Open the folder where ADB and Fastboot are kept. Open "cmd-here.exe" or open the Command Prompt in the folder by clicking Swift key + right mouse click on an empty space.
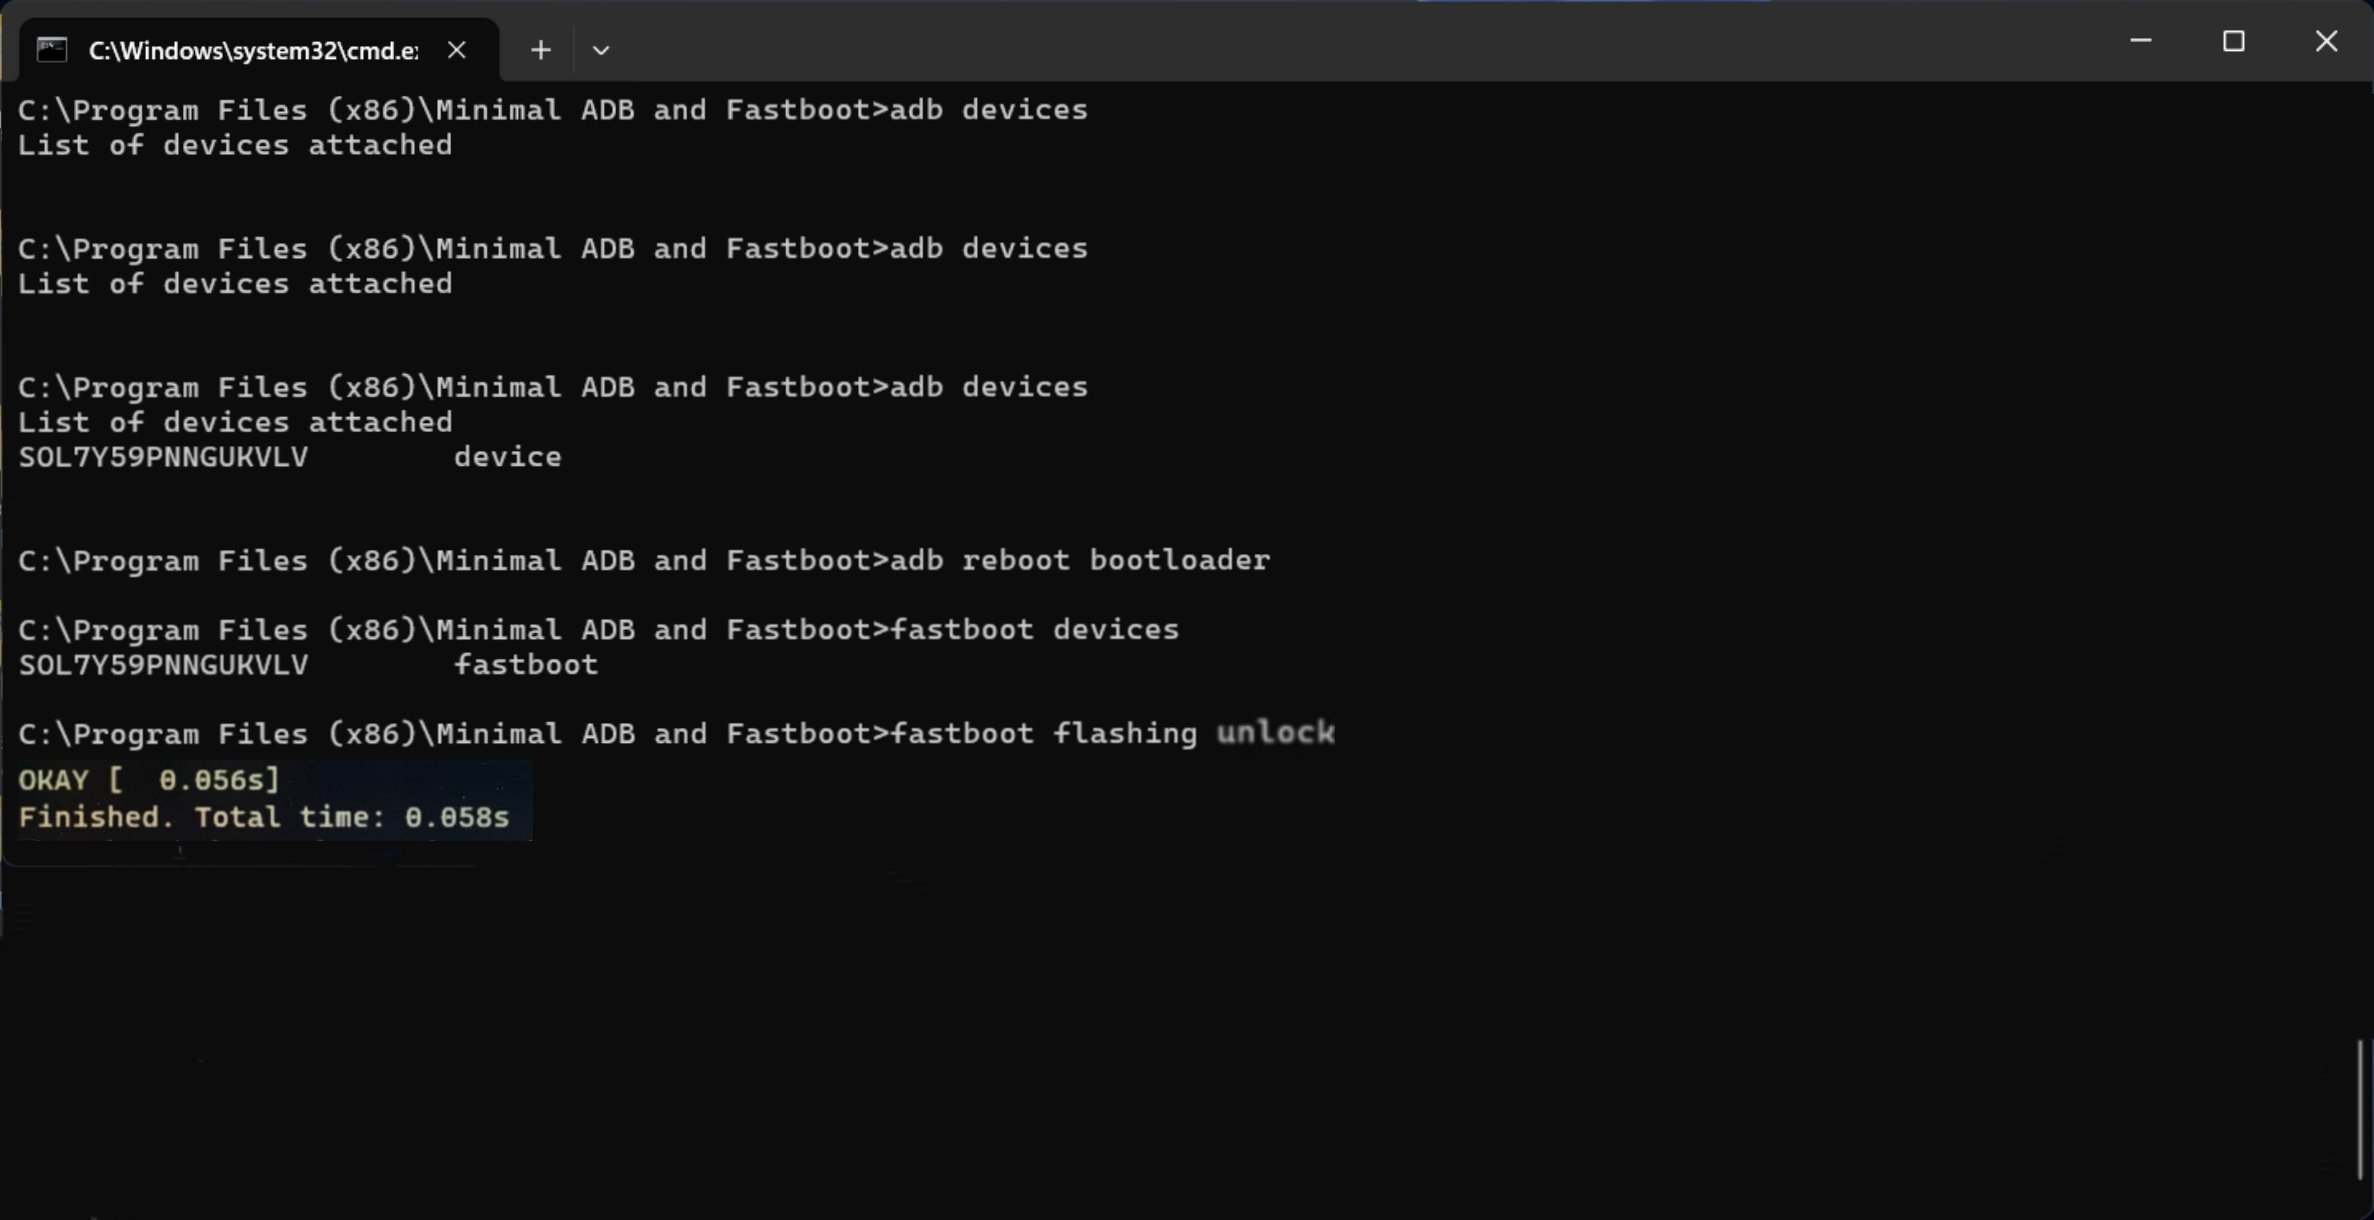
- Boot Google Pixel Tablet into Fastboot mode, type the following command:
- adb devices
- adb reboot-bootloader
- Your phone will boot into bootloader and also you will also see bootloader locked.
- To ensure the drivers are installed properly, type the following command:
- fastboot devices
- fastboot flashing unlock
- Fastboot Mode screen to one asking if you'd like to unlock the bootloader. Press the volume down button once to highlight the "Unlock the bootloader" option, then press the power button to select it.
- The phone will unlock, and all data will be wiped!
- Once you have done, you can reboot your device using the command:
- fastboot reboot
- Finally, you have successfully unlocked the bootloader on the Google Pixel Tablet.
